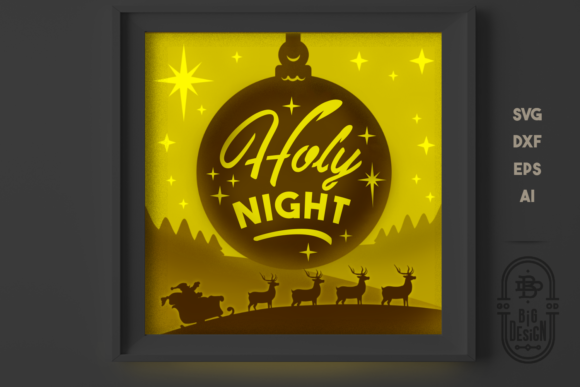
Christmas SVG 3D Scene Holy Night SVG: A Practical Guide to Avoiding Digital Craft Pitfalls
Imagine holding a physical shadow box that captures the serene glow of a holy night, complete with depth and texture that jumps off the page. That is exactly what the Christmas SVG 3D Scene Holy Night Shadow Box aims to deliver when you bring it to life on your cutting machine or design software. However, there is a significant gap between owning a digital file and successfully executing a high-quality craft project. Many creators rush into purchasing these assets without understanding the technical requirements, leading to frustrated hours of troubleshooting rather than creative joy.
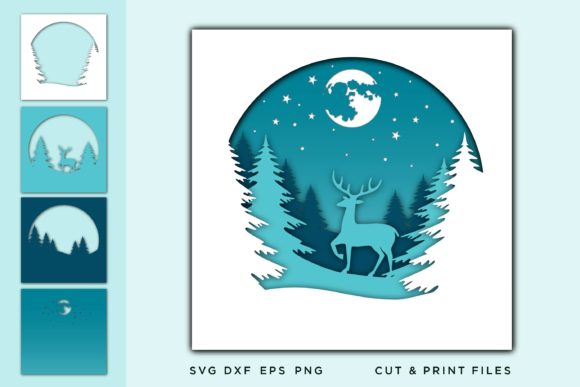
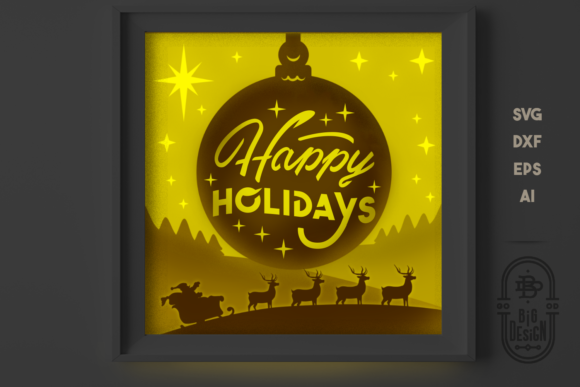
The core value of this specific design lies in its complexity. Unlike flat vector graphics, a Holy Night scene often relies on multiple layers to create the illusion of three-dimensional space. This particular digital asset is packaged as a ZIP file containing essential formats like SVG, DXF, EPS, and AI, along with five distinct layers set at a default size of 6x6 inches. While this sounds convenient, it introduces a specific set of challenges that beginners and even seasoned professionals sometimes overlook. If you are planning to use this file for small business products, holiday marketing materials, or personal gifts, understanding the workflow is critical to avoiding costly errors.
The "No Physical Item" Misunderstanding
One of the most common mistakes people make when browsing listings for Christmas SVG 3D Scene Holy Night SVG files is assuming they will receive a tangible product. It is crucial to remember immediately that this is a DIGITAL DOWNLOAD. No physical shadow box, ornament, or printed card will ever be mailed to your door. The transaction is strictly for the data required to create those items yourself.
This distinction affects how you evaluate the purchase. You are not paying for shipping costs or material quality; you are paying for the intellectual property and the convenience of pre-cut paths. If you expect a ready-made decoration, you will be disappointed. Instead, view this as buying the blueprint for your own creation. The responsibility for sourcing the physical wood, acrylic, or cardstock, and the time spent assembling the layers, rests entirely with you. Failing to account for these material costs can skew your budget if you are using these designs for commercial resale.
Navigating File Formats and Software Compatibility
The listing mentions a robust package including one SVG, one DXF, one EPS, and one AI file. While having these options is excellent for versatility, it also creates a trap for users who do not verify their software capabilities beforehand. Each format serves a different purpose, and using the wrong one can ruin the final output.
- SVG (Scalable Vector Graphics): This is the industry standard for Cricut and Silhouette machines. It preserves layer information perfectly but requires specific software to edit.
- DXF (Drawing Exchange Format): Essential for laser cutters like Glowforge or xTool. Some older laser software struggles with complex SVGs, making the DXF version vital.
- EPS and AI: These are best for professional graphic designers using Adobe Illustrator. They allow for deep editing of the paths before sending them to a cutter.
A frequent error occurs when a user downloads the file, opens it in the wrong program, and loses the layer separation. For a 3D scene, losing the layers means losing the depth. If you cannot see the five distinct layers in your software, your cut will result in a single flat shape rather than a stacked 3D scene. Always open the file in your intended software first to confirm that all layers are intact before attempting to cut or print.
The Layer Trap: Why Five Layers Matter
The specification of 5 layers is the defining feature of this Holy Night design. In a 3D shadow box, each layer represents a different plane of depth—perhaps the background stars, the middle ground trees, and the foreground characters. When assembling the physical object, the order and spacing of these layers determine the visual impact.
Mistakes here are subtle but damaging. Beginners often assume that because the file has five layers, they should simply stack them directly on top of each other. Without proper spacers or adhesive techniques, the image can look muddy or crushed. Furthermore, some users attempt to simplify the design by merging layers to save time. This is a fatal mistake for a 3D scene. Merging the layers flattens the image, destroying the very effect you paid for. To achieve the correct aesthetic, you must respect the integrity of each layer and plan your assembly process around maintaining that separation.
Sizing and Scaling: The 6x6 Inch Default
The default size is listed as 6x6 inches. While this is a standard dimension for many home projects, it is not universal. A common pitfall is scaling the design up or down without considering the thickness of your material or the limitations of your cutting machine bed.
If you are creating a wall hanging, a 6x6 inch piece might feel too small to command attention. Conversely, if you are making an ornament, it might be too large. Before you start cutting, check your machine's maximum workspace. More importantly, consider the aspect ratio. If you stretch the 6x6 square into a rectangle to fit a different frame, you distort the geometry of the scene. The balance of the Holy Night composition relies on the original proportions. Always scale uniformly if you need to change the size, and test a small section of the design on scrap material to ensure the details remain crisp after scaling.
Preparing for Success: A Checklist Before You Cut
To ensure your experience with the Christmas SVG 3D Scene Holy Night SVG is smooth and rewarding, take a moment to prepare your workspace. Do not just hit "print" or "cut" immediately after downloading. Instead, follow this practical approach:
- Verify the Software: Ensure you have a program capable of opening the provided formats (e.g., Cricut Design Space, LightBurn, or Adobe Illustrator).
- Inspect the Layers: Open the file and count the layers. Confirm that the 5 layers are separated and named logically.
- Check Material Thickness: Decide on your base material. Thicker materials require larger gaps between layers to maintain the 3D effect.
- Review the License: Check if the digital download allows for commercial use if you plan to sell the finished shadow boxes.
By addressing these points proactively, you avoid the frustration of realizing halfway through a project that you lack the right tools or that the file is incompatible. The difference between a disappointing result and a stunning centerpiece is often found in the preparation phase.
Ultimately, this digital asset offers a beautiful way to celebrate the season, but it demands a bit of technical diligence. Treat the file as a set of instructions rather than a finished product. With the correct software, an understanding of layer management, and realistic expectations about the digital nature of the purchase, you can transform a simple ZIP file into a cherished holiday tradition. Take the time to learn the nuances of the file types, and you will find that the effort yields a professional-grade result that stands out from mass-produced decorations.