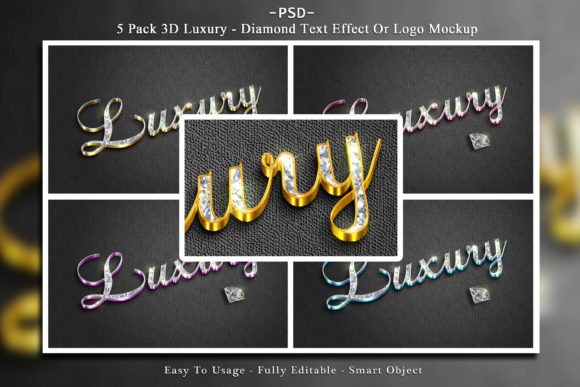
5 Pack 3d Luxury: Elevate Your Brand Identity Without the Design Headache
In a digital landscape saturated with generic templates and flat designs, standing out requires more than just a good idea; it demands visual authority. This is where 5 Pack 3d Luxury transforms from a simple download into a strategic asset for your brand. Whether you are a seasoned graphic designer looking to speed up your workflow or a small business owner trying to make a first impression that sticks, this collection offers a sophisticated solution for text effects and logo mockups. It bridges the gap between complex 3D rendering software and the immediate need for high-quality visuals.
However, many users approach these assets with the expectation of instant magic without understanding the underlying mechanics. The reality is that while the tool is incredibly powerful, its success depends on how well you prepare your source materials and understand the file structure. Misunderstanding the smart object workflow can lead to pixelated results or frustrating delays, turning what should be a five-second edit into a twenty-minute struggle. Let's explore how to maximize the value of this pack while avoiding the common pitfalls that trip up even experienced creators.
The Power of Smart Objects: Why You Should Care
The core feature of this package lies in its use of smart object layers. Unlike standard image files where editing requires rasterizing or destructive changes, smart objects preserve the original content integrity. When you open the file, you are not just placing an image; you are interacting with a dynamic container. This means you can change your text or logo, save the inner document, and watch the main composition update instantly.
Many beginners make the mistake of trying to "edit" the smart object by using the brush tool or filters directly on the layer in the main window. This often leads to confusion when the changes do not appear as expected. The correct approach is intuitive but requires a specific habit: double-click the thumbnail icon next to the smart object layer name. This opens a separate window where you can paste your new logo or type your custom text. Once you save that internal file (Ctrl+S or Cmd+S) and close the window, the effect updates in the background. Skipping this step or trying to force edits externally will result in wasted time and subpar outcomes.
Avoiding Resolution and Format Pitfalls
Quality control is paramount when dealing with luxury branding. A common error occurs when users assume that any image downloaded online is ready for print or large-scale display. The 5 Pack 3d Luxury files are delivered at a robust 3508 x 2480 resolution with a 300 DPI setting. This ensures that whether you are printing a billboard or displaying a high-res web banner, the edges remain crisp and the lighting effects hold their depth.
If you resize these images down significantly without preserving the aspect ratio, or if you attempt to stretch them to fit a non-standard canvas, you risk distorting the 3D perspective. The lighting and shadows are calculated based on specific angles; stretching the image warps these calculations, making the luxury effect look artificial and cheap. Always ensure your final export maintains the native resolution or scales proportionally. Additionally, remember that this item works best with Photoshop CS 4 and later versions. Using older software or incompatible platforms may prevent the smart objects from loading correctly, leaving you with a blank slate instead of a polished design.
Choosing the Right Asset for Your Project
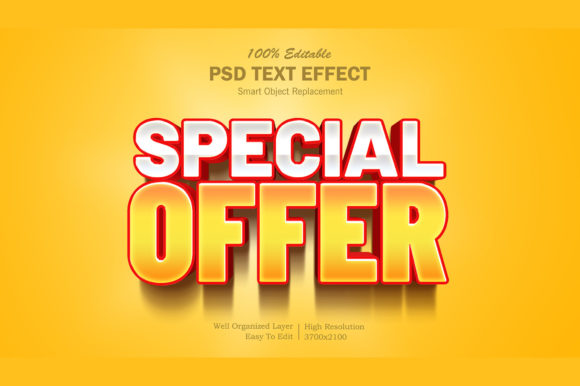
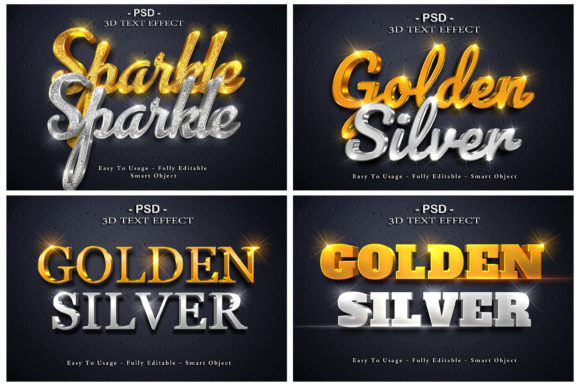
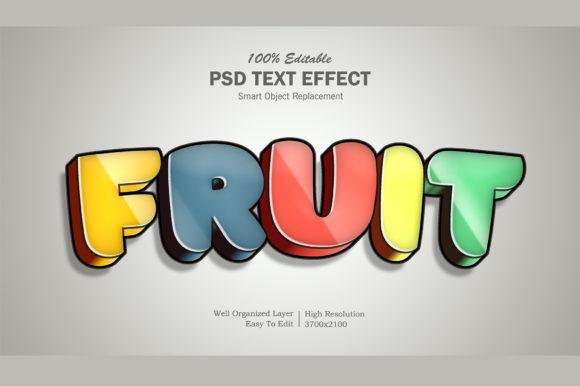
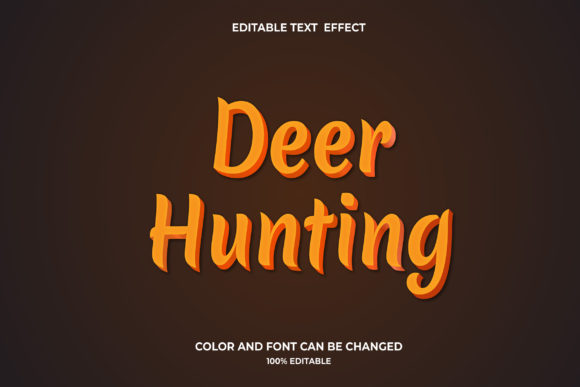
Before you dive into editing, it is crucial to evaluate which of the five included styles fits your brand identity. Not every luxury aesthetic suits every product. A sleek, metallic finish might work perfectly for a tech gadget or a high-end perfume, but it could clash with a rustic organic food label. The pack includes both PSD and JPG files, offering flexibility in how you use them.
- PSD Files: Use these when you need full customization. They contain editable text layers, adjustment settings, and the smart objects mentioned earlier. This is your go-to format for creating unique variations.
- JPG Files: These are excellent for quick previews or when you need a static image for social media posts where further editing isn't required. They are optimized for fast loading times without sacrificing the 300 DPI quality.
A frequent mistake is treating all five designs as interchangeable. While they share a theme, each one has a distinct texture and lighting setup. Selecting the wrong style can dilute your message. If your brand values transparency and minimalism, choose the design with cleaner lines. If you want to convey opulence and weight, opt for the heavier textures. Taking the time to preview the raw files before committing to a specific layout saves significant revision time later.
Efficiency in Workflow: From Download to Delivery
The promise of this tool is speed. With the ability to replace text or logos in seconds, you can iterate through dozens of concepts in the time it usually takes to render one. However, efficiency is lost if you neglect organization. Before opening the file, organize your assets. Have your logo in PNG format with a transparent background ready to go. Do not try to trace over a JPEG logo inside the smart object; import a clean vector or high-resolution PNG for the sharpest results.
The process should take no longer than 5 to 10 seconds per variation. If you find yourself spending minutes on a single change, you are likely struggling with the file structure or the image resolution. Ensure you are saving the internal smart object document properly. Many users forget to save the inner file after pasting their new logo, assuming the change is automatic. It is not. The external link only updates when the internal file is explicitly saved.
Maximizing Value Through Correct Usage
To truly get your money's worth from the 5 Pack 3d Luxury, treat it as a professional toolkit rather than a quick fix. Check your color profiles before exporting. If your final output is for print, ensure your Photoshop document is set to CMYK mode, although the default RGB is fine for digital marketing. Also, verify that your text kerning and spacing look good within the 3D constraints. Sometimes, the curvature of the 3D text can make certain fonts difficult to read if the tracking is too tight.
By following these guidelines, you avoid the frustration of low-quality outputs and wasted hours. The goal is to present a brand that looks expensive and established, regardless of your budget. This pack provides the infrastructure for that look, but your attention to detail provides the polish. Whether you are a freelancer pitching to a client, a blogger updating your header, or a marketer launching a campaign, the difference between a mediocre presentation and a standout one often comes down to the quality of the mockup.
Remember, the technology is designed to be user-friendly, but it rewards those who respect the workflow. Open the file, engage with the smart object layer mindfully, and let the high-resolution details do the heavy lifting. With 5 PSDs and 5 JPGs included in a single zip file, you have a versatile library ready for immediate deployment. Just ensure you are using compatible software like Photoshop CS 4 or newer, and you will unlock a seamless path to professional-grade design.